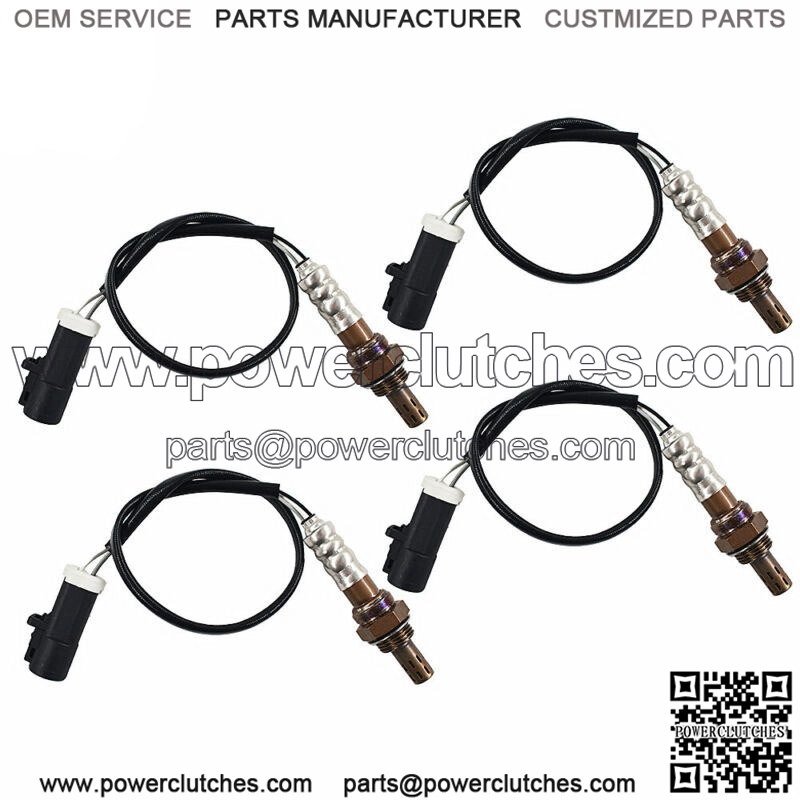
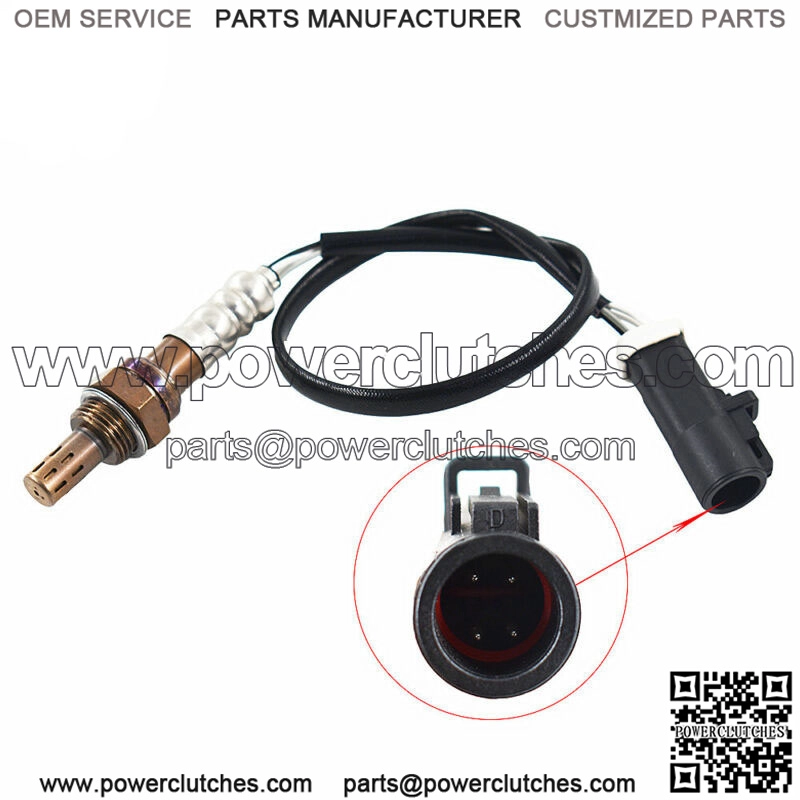
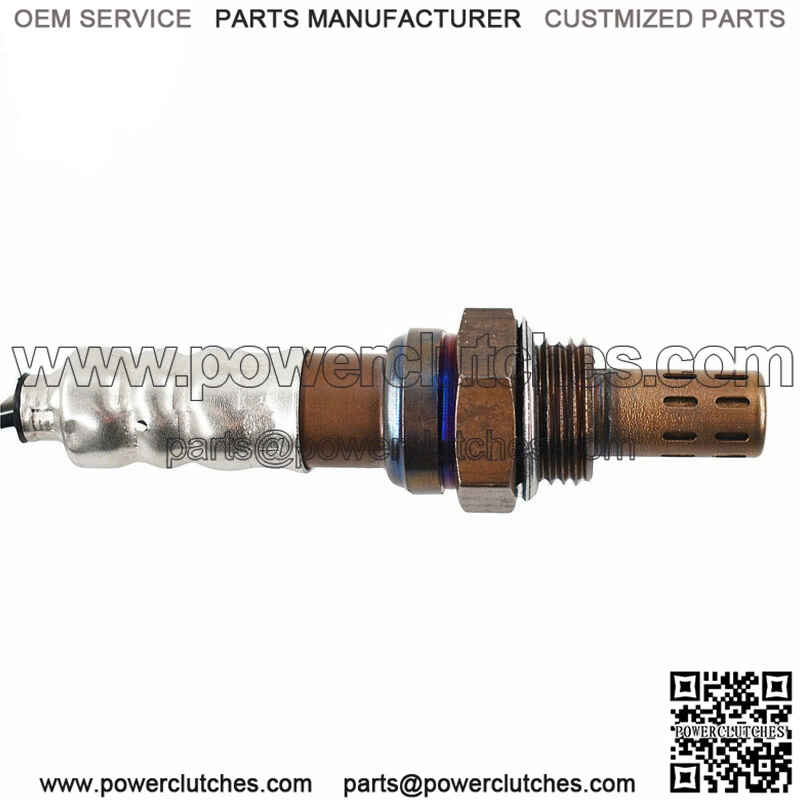
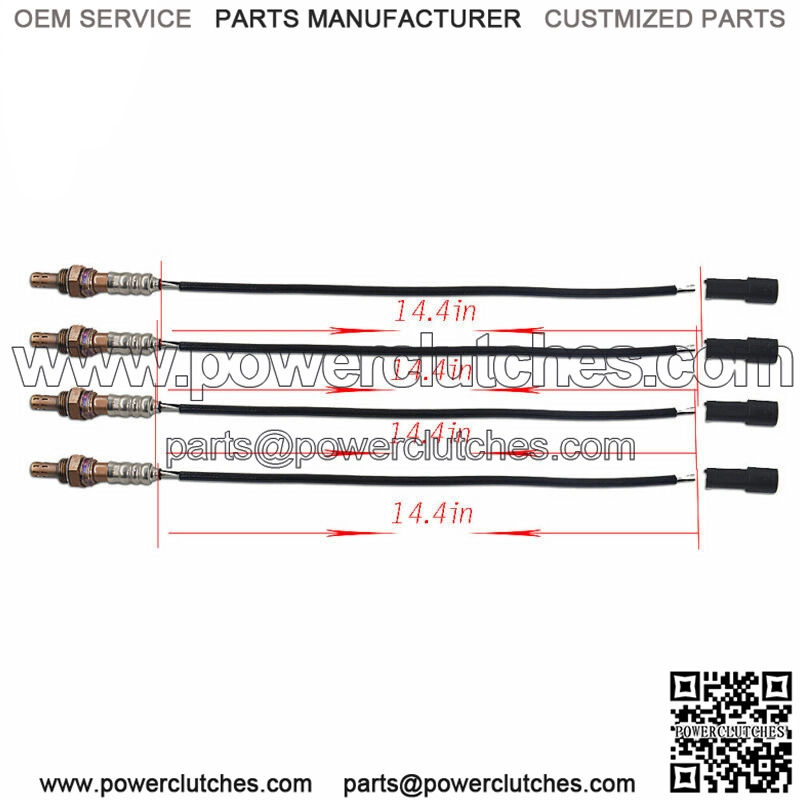
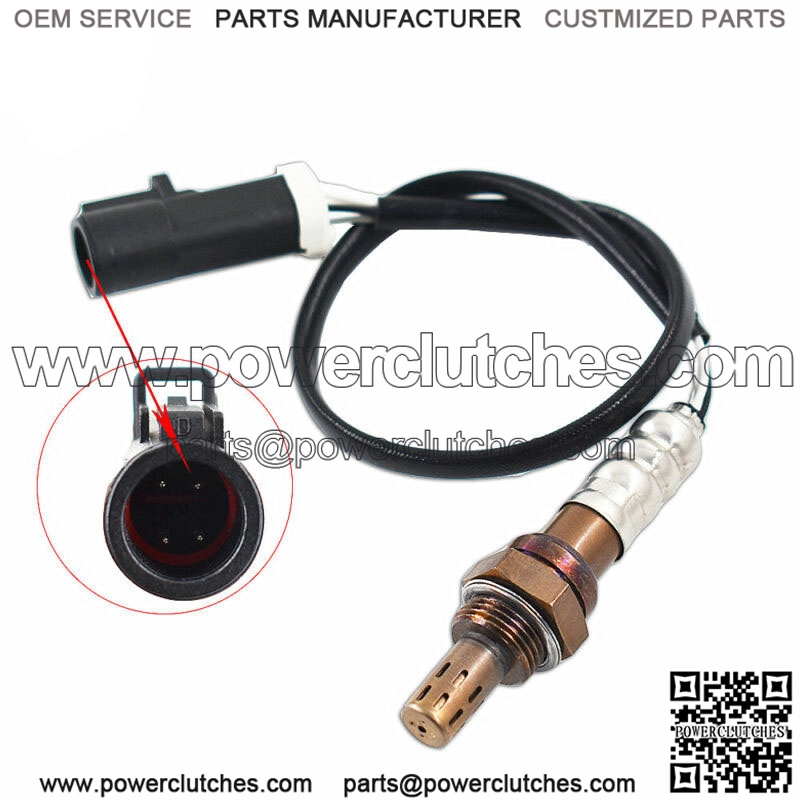
Upstream + 2 Downstream Oxygen O2 Sensors for Ford Mustang 95-10 3.8 4.6L
Product categories
- ATV Parts (3927)
- Bicycle Parts (5)
- Car Parts (9680)
- Go Kart Parts (40)
- Golf Cart Parts (1677)
- Lawn Mower Parts (1590)
- Minibike Parts (5)
- Motorboat Parts (198)
- Motorcycle Parts (2656)
- Other Parts (363)
- Scooter Parts (646)
- Simple Types (2)
- Snowmobile Parts (224)
- Tractor Parts (2316)
- Uncategorized (1)
- UTV Parts (2576)
- Variable Type (1)
Product tags
Please check the installation notes and description for accurate information. Oxygen Sensor Location: How to Tell if an O2 Sensor is Bad or Not Check Engine Light is On Decreasing Fuel Economy Your Catalytic Converter Fails Unexpectedly Exhaust Emissions Are Reaching Undesirable Levels How to Install an O2 Sensor Step 1 – Some sensors are equipped with a heat shield that must be removed before removing the sensor, this is done by removing all mounting bolts. Step 2 – Using a regular socket will minimize potential damage to the sensor housing and threads, this method helps avoid stripping the old sensor when removing. Step 3 – Next locate and disconnect the wiring connector, this step should be done before removing the sensor if the wiring is still connected. Step 4 – It is important that the wiring harness connectors are exactly the same, each sensor is unique to its position and is located in the system according to its connector configuration. (Note: Some replacement sensors have a universal electrical connector that must be configured to accommodate the wiring of the old sensor.) Step 5 – Use a small wire brush to clean the threaded hole to ensure a proper seal for the new sensor. Carefully install the new oxygen sensor by hand, being careful not to kink the wiring or connector. Step 6 – Carefully tighten the sensor, being careful not to damage the wiring, these sensors need to be tight enough to avoid leaks. Step 7 – Once the sensor is tightened, reinstall any heat shields or spacers that had to be removed. Step 8 – Once the heat shield has been reinstalled, install the connector on its retainer and reconnect the connector to the wiring harness. If the vehicle has diagnostic trouble codes, they will need to be cleared. Things to Know Before Buying: The following information is for guidance and reference purposes only. We strive to make it as accurate as possible. If the Check Engine Light comes on or an OBDII trouble code/malfunction code appears after installation, test the sensor with a voltmeter as outlined below. If the sensor is good, further diagnostics are required. There are many different codes for specific functional failures that do NOT necessarily apply to the sensor. Find out what the code means before leaving any feedback. Items that have been installed, modified or contaminated are not returnable. 1. Manufacturer’s warranty ONLY covers the faulty sensor after testing with a voltmeter. 2. A 20% restocking fee is required if the buyer purchased the wrong items due to inattention to the installation information and requests a return. The price, quality and functionality of the O2 sensor are fully covered by our warranty and return policy. However, any labor costs, dealer shop charges or damage due to improper installation are NOT covered.
